One of the big advantages of working at a flea market is that there is usually a guy selling fresh produce from the back of his pick-up truck... Now, there's two sides to this... The vast majority of fresh produce from these trucks and from the "Farmers Markets" is the exact same produce that you find in the Supermarket. They buy this at fruit and vegetable wholesalers, load the truck and bring it out to sell. However, since they're not paying the huge overhead... you can get some pretty good deals. For instance, last week, pineapples showed up at the flea for $2.00 each. And if you got a fresh pineapple, you might as well grow the thing, right?
You start by examining your pineapple. Don't worry about dead leaf tips, the thing will still grow. Getting perfect green leaves is of course better, but they're not absolutely necessary.
Second, the further south you live, the more likely your going to find that the top has been 'cored'. They cut out the growing tips. They come up with lots of politically correct reasons for this... but the ultimate outcome is that if you're living in semi-tropical areas, say Florida, the gulf coast, California, they basically don't want you producing your own pineapples at home, and they most definitely don't want you growing every pineapple top you get your hands on and possibly producing a cash crop. A lot of time and money has gone into developing some of these commercial varieties, and they have to protect their investment. One of the most practical ways of doing this is to remove the growing tip from the pineapple tops to make it much more difficult to propagate. However, most of the United States doesn't have the right growing conditions, so they only do this to fruit that's being shipped down south.
Provided you have a top with at least some green, and a viable growing tip, then you grab the fruit in one hand, the green top in the other (both can be prickly, gloves or a couple of dish towels might come in handy) and twist them in separate directions. The top will pop right off and you'll end up with this.

Yeah... I know that some people say to cut across the top of the fruit, and leave about an inch of the flesh on the bottom. Which will begin to rot and stink to high heaven as you're growing it. I don't recommend that process, as it's icky and messy and just generally not nice.
Instead, what you do is start removing leaves from the bottom...

As you do this, you'll start to see small rootlets... this is a rather developed one, most are just tiny little bumps wedged between the leaves.

Keep removing leaves until you get about an inch of stem, you'll start getting into clean stem without rootlets. You can keep going until you only have the growing tip, but I don't do that.

At this point, you have two options.
1. The pineapple stem can be dusted with rooting hormone (or not, it's really up to you) then planted in a good potting soil, where it will root and begin to grow within a month
2. Or you can stand the thing in water (a narrow mouthed Ragu jar supports the leaves and works well) and sit it on the window to watch the roots grow.
I opted for the latter.
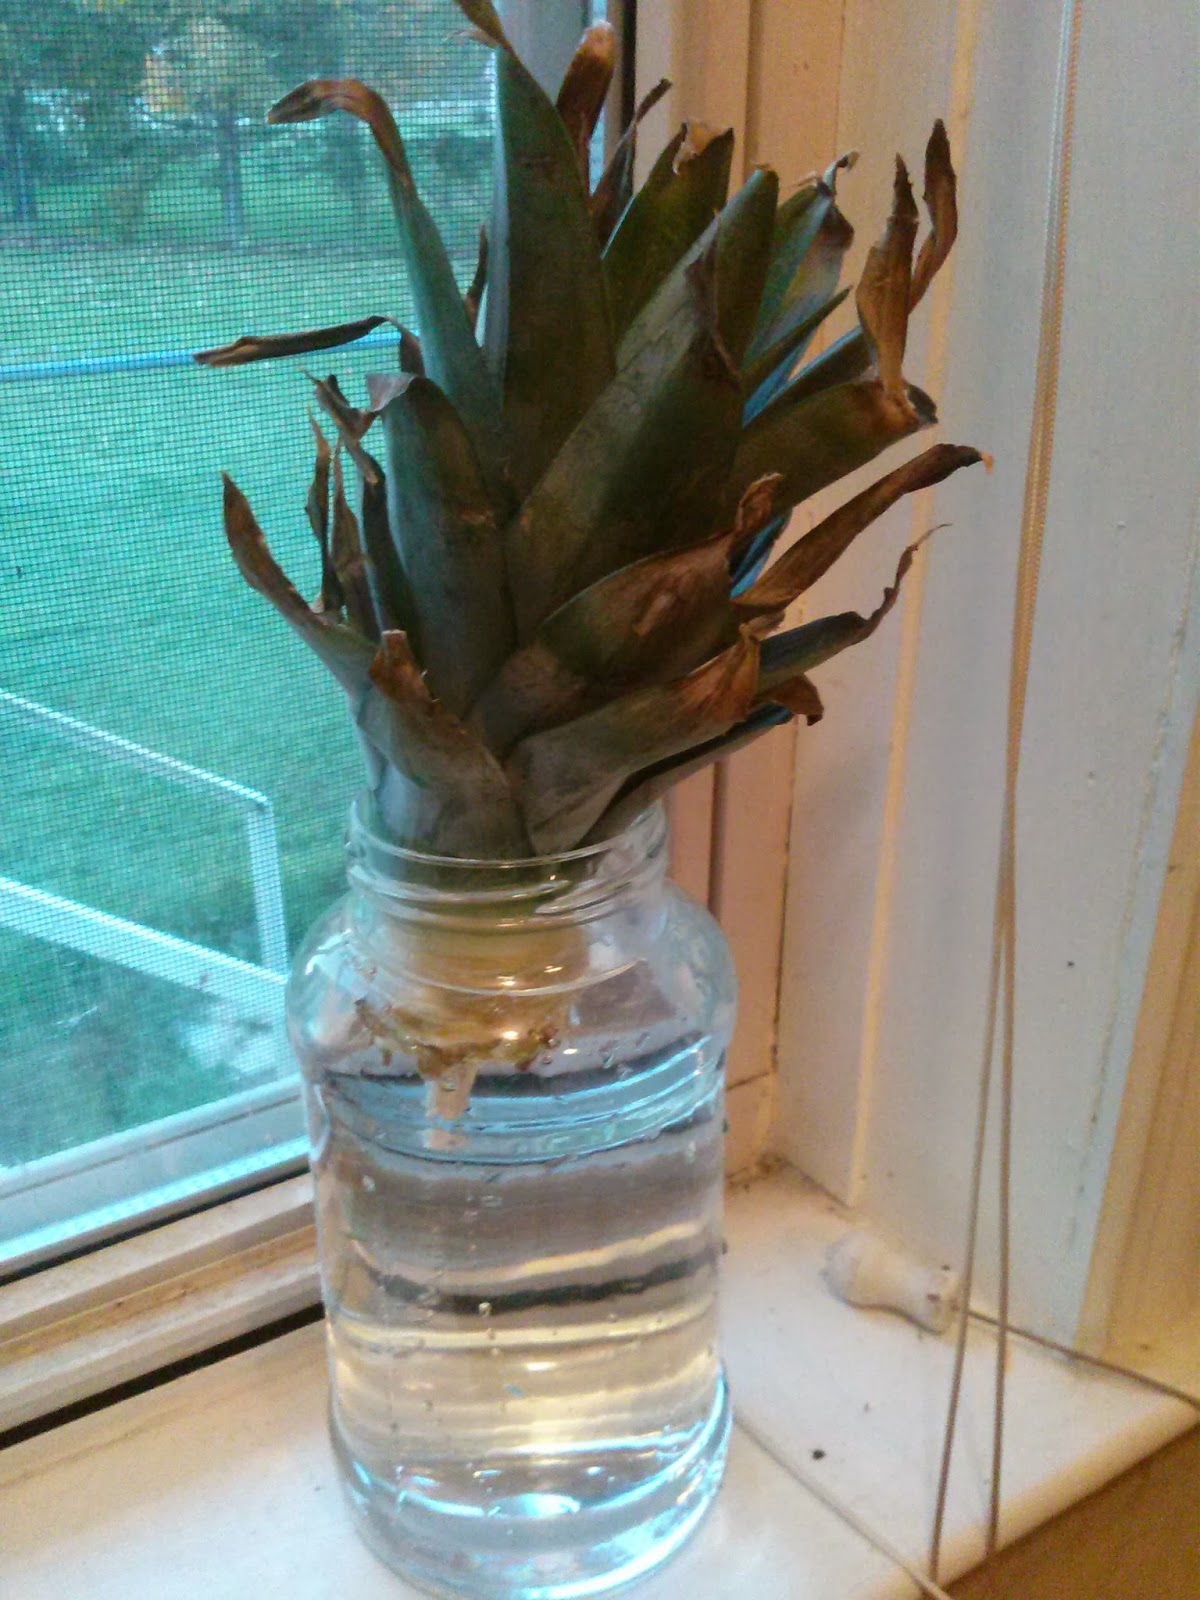
Now... will I have fresh pineapples? No time soon. Provided you can give them enough heat and light, it's generally 12 to 18 months before they can be persuaded to bloom, then a further six months before the fruit would be ready to pick. In my part of Texas, heat and light aren't a problem, but the lack of humidity seems to affect them in a rather negative way.
But they do make a rather interesting patio plant, with a resemblance to agave after the long leaves start growing.
If you have youngsters around, rooting the pineapple you got in your Christmas fruit basket can be a fun project over the winter. I'll update in a few weeks so you can check the process.


